
iPhone screen recording is frequently utilized in a variety of scenarios. It can be used for instructional videos, walkthroughs, and troubleshooting technical issues by visually demonstrating problems.
It can also capture gameplay and social media content and record online meetings and educational sessions. Here’s how to screen record on your iPhone:
- Add Screen Recording to Control Center (If Not Already There):
- Go to Settings app.
- Tap Control Center.
- Scroll down to the “More Controls” section.
- Look for Screen Recording (it will have a + icon next to it).
- Tap the + icon to add it to the “Included Controls” section. This adds the screen recording button to your Control Center.
- Start a Screen Recording:
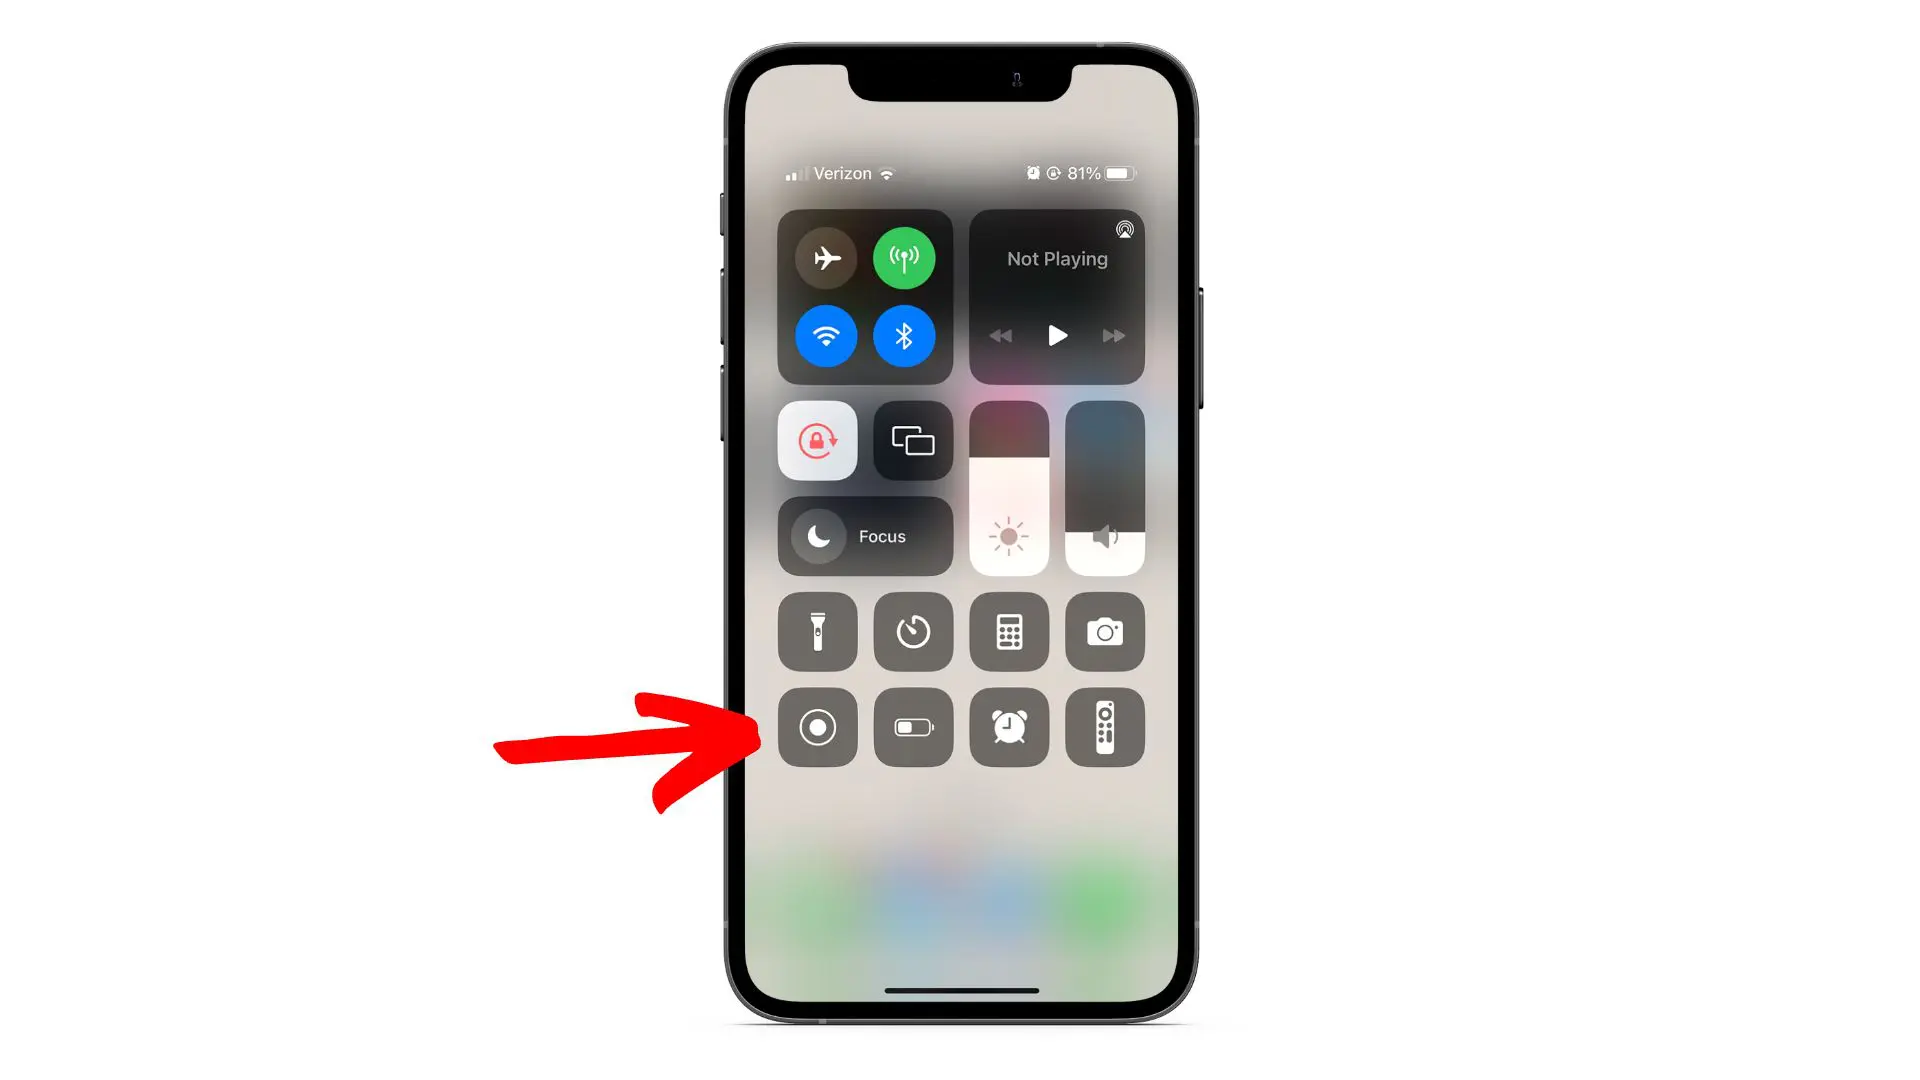
- Open Control Center:
- On iPhones with Face ID (iPhone X and later): Swipe down from the screen’s upper-right corner.
- On iPhones with a Home button (iPhone 8 and earlier): Swipe up from the screen’s bottom edge.
- Tap the Screen Recording Button. It’s a circle inside another circle (it looks like a record button).
- Wait for the Countdown: A 3-second countdown will appear (3, 2, 1). After the countdown, the recording will start. A red recording indicator (usually a red circle or pill shape) will appear in the status bar (at the top of your screen) to show the recording progress. On some newer models, this might be the dynamic island expanding.
- Open Control Center:
- (Optional) Record Audio:
- Long Press the Screen Recording Button: Before tapping the Screen Recording button in the Control Center, long press on it (press and hold). This will bring up options.
- Microphone On/Off: You’ll see an option to toggle the microphone on or off. If you want to record your voice or external sounds, make sure the microphone is turned on (the icon should be red). If you only want to record the screen without audio, turn the microphone off (the icon will be gray).
- Start Recording: After selecting your audio preference, tap “Start Recording.”
- Stop the Screen Recording:
- Tap the Red Status Bar: Tap the red recording indicator (circle or pill shape) in the status bar at the top of your screen. A pop-up will ask if you want to stop the recording. Tap Stop.
- Open Control Center and Tap the Screen Recording Button Again: You can also open the Control Center again and tap the Screen Recording button to stop the recording.
- Find Your Recording:
- All screen recordings are automatically saved to the Photos app in your Camera Roll album.
Important Notes:
- Notifications and System Alerts: Any notifications or system alerts that appear on your screen will be recorded during a screen recording. Please be mindful of this.
- Copyrighted Content: Some apps may block screen recording of copyrighted content (e.g., streaming services like Netflix or Disney+). You may see a black screen instead of the video. This is a security measure implemented by the app.
- Storage Space: Exceptionally long Screen recordings can take up a lot of storage space.
- Microphone Access: Make sure the apps you’re recording have permission to access your microphone (if you’re using the microphone). You can check and change app permissions in Settings > Privacy & Security > Microphone.